Introduction
Enter the world of modern living via our Home Automation System, which is powered by Arduino and the HC-05 Bluetooth module.
Control your home with easy using an Arduino Uno, HC-05 for wireless communication, relays for controlling devices, and an accurate DC power source.
Jump wires allow you to easily assemble your smart setup on a breadboard. The Arduino Bluetooth app rounds off the bundle, providing seamless control from your smartphone.
Transform your living space by automating tasks and increasing comfort. Enjoy the future with Arduino and the HC-05, the gateway to clever and efficient home automation.
1. Requirements for Home Automation
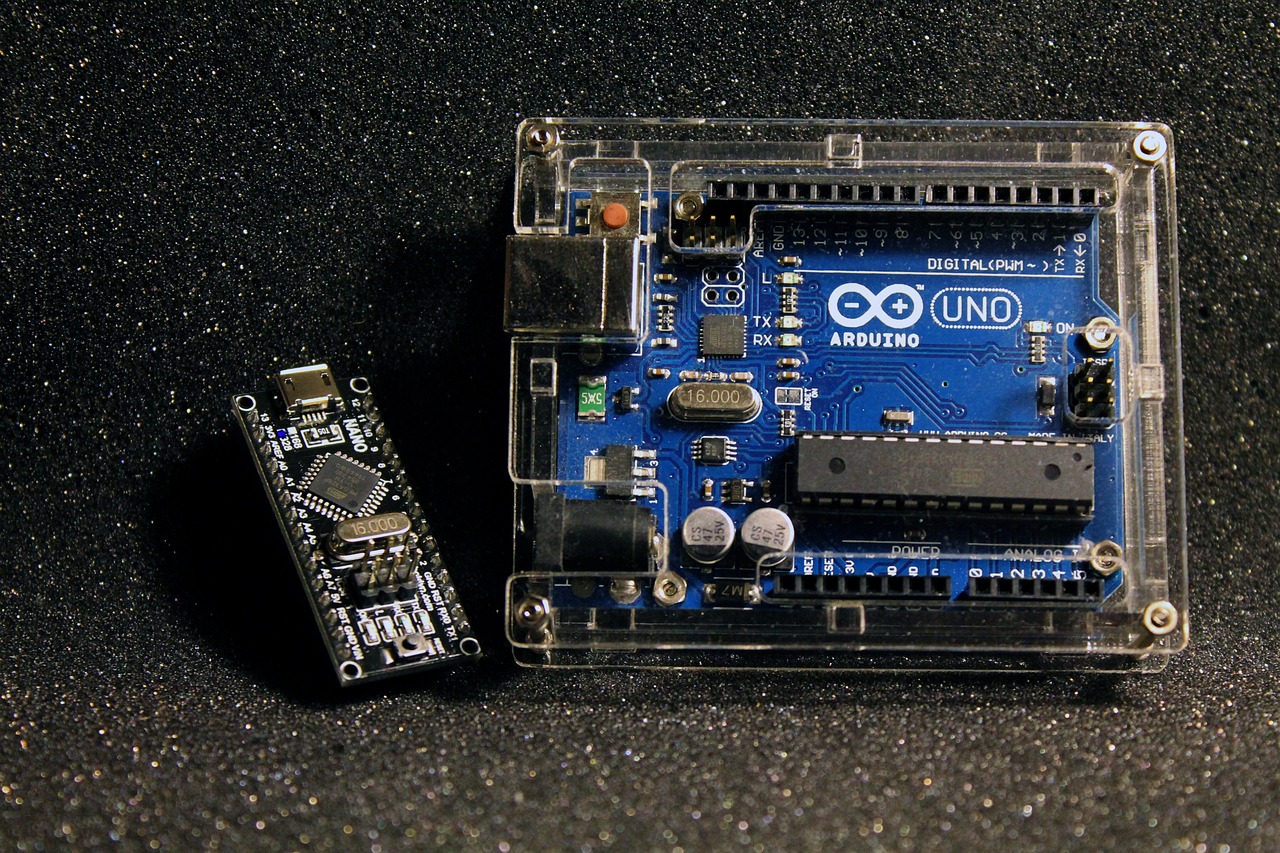
1. Arduino Uno:
The primary processing device for home automation operations.

2. HC-05 Bluetooth Module:
The HC-05 Bluetooth module adds wireless connectivity to your Arduino system, allowing you to easily control gadgets from your smartphone .
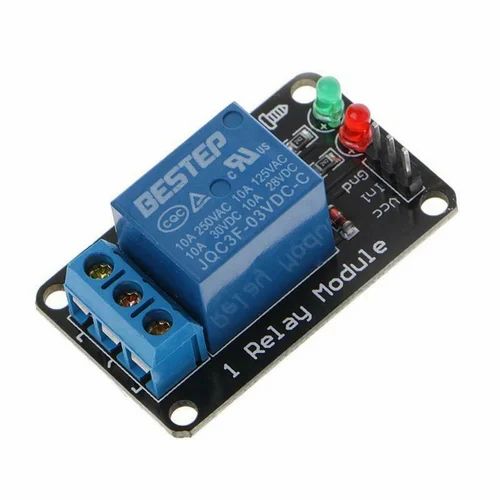
3. Relay:
Use relays to connect Arduino to powerful devices. With a single click, you can control lights, fans, and other features.
4. DC Power Source:
Use a trustworthy DC power source to enable continuous automated performance.
5. Breadboard:
Use a breadboard to easily assemble and develop your circuit, allowing for a clean and orderly setup during testing and development.
6. Jump Wires:
Use jump wires to connect components quickly and securely, allowing for efficient home automation wiring.
7. Arduino Bluetooth App:
The Arduino Bluetooth app offers a simple to use gui for managing and tracking linked gadgets.
2. Circuit Wiring for Home Automation
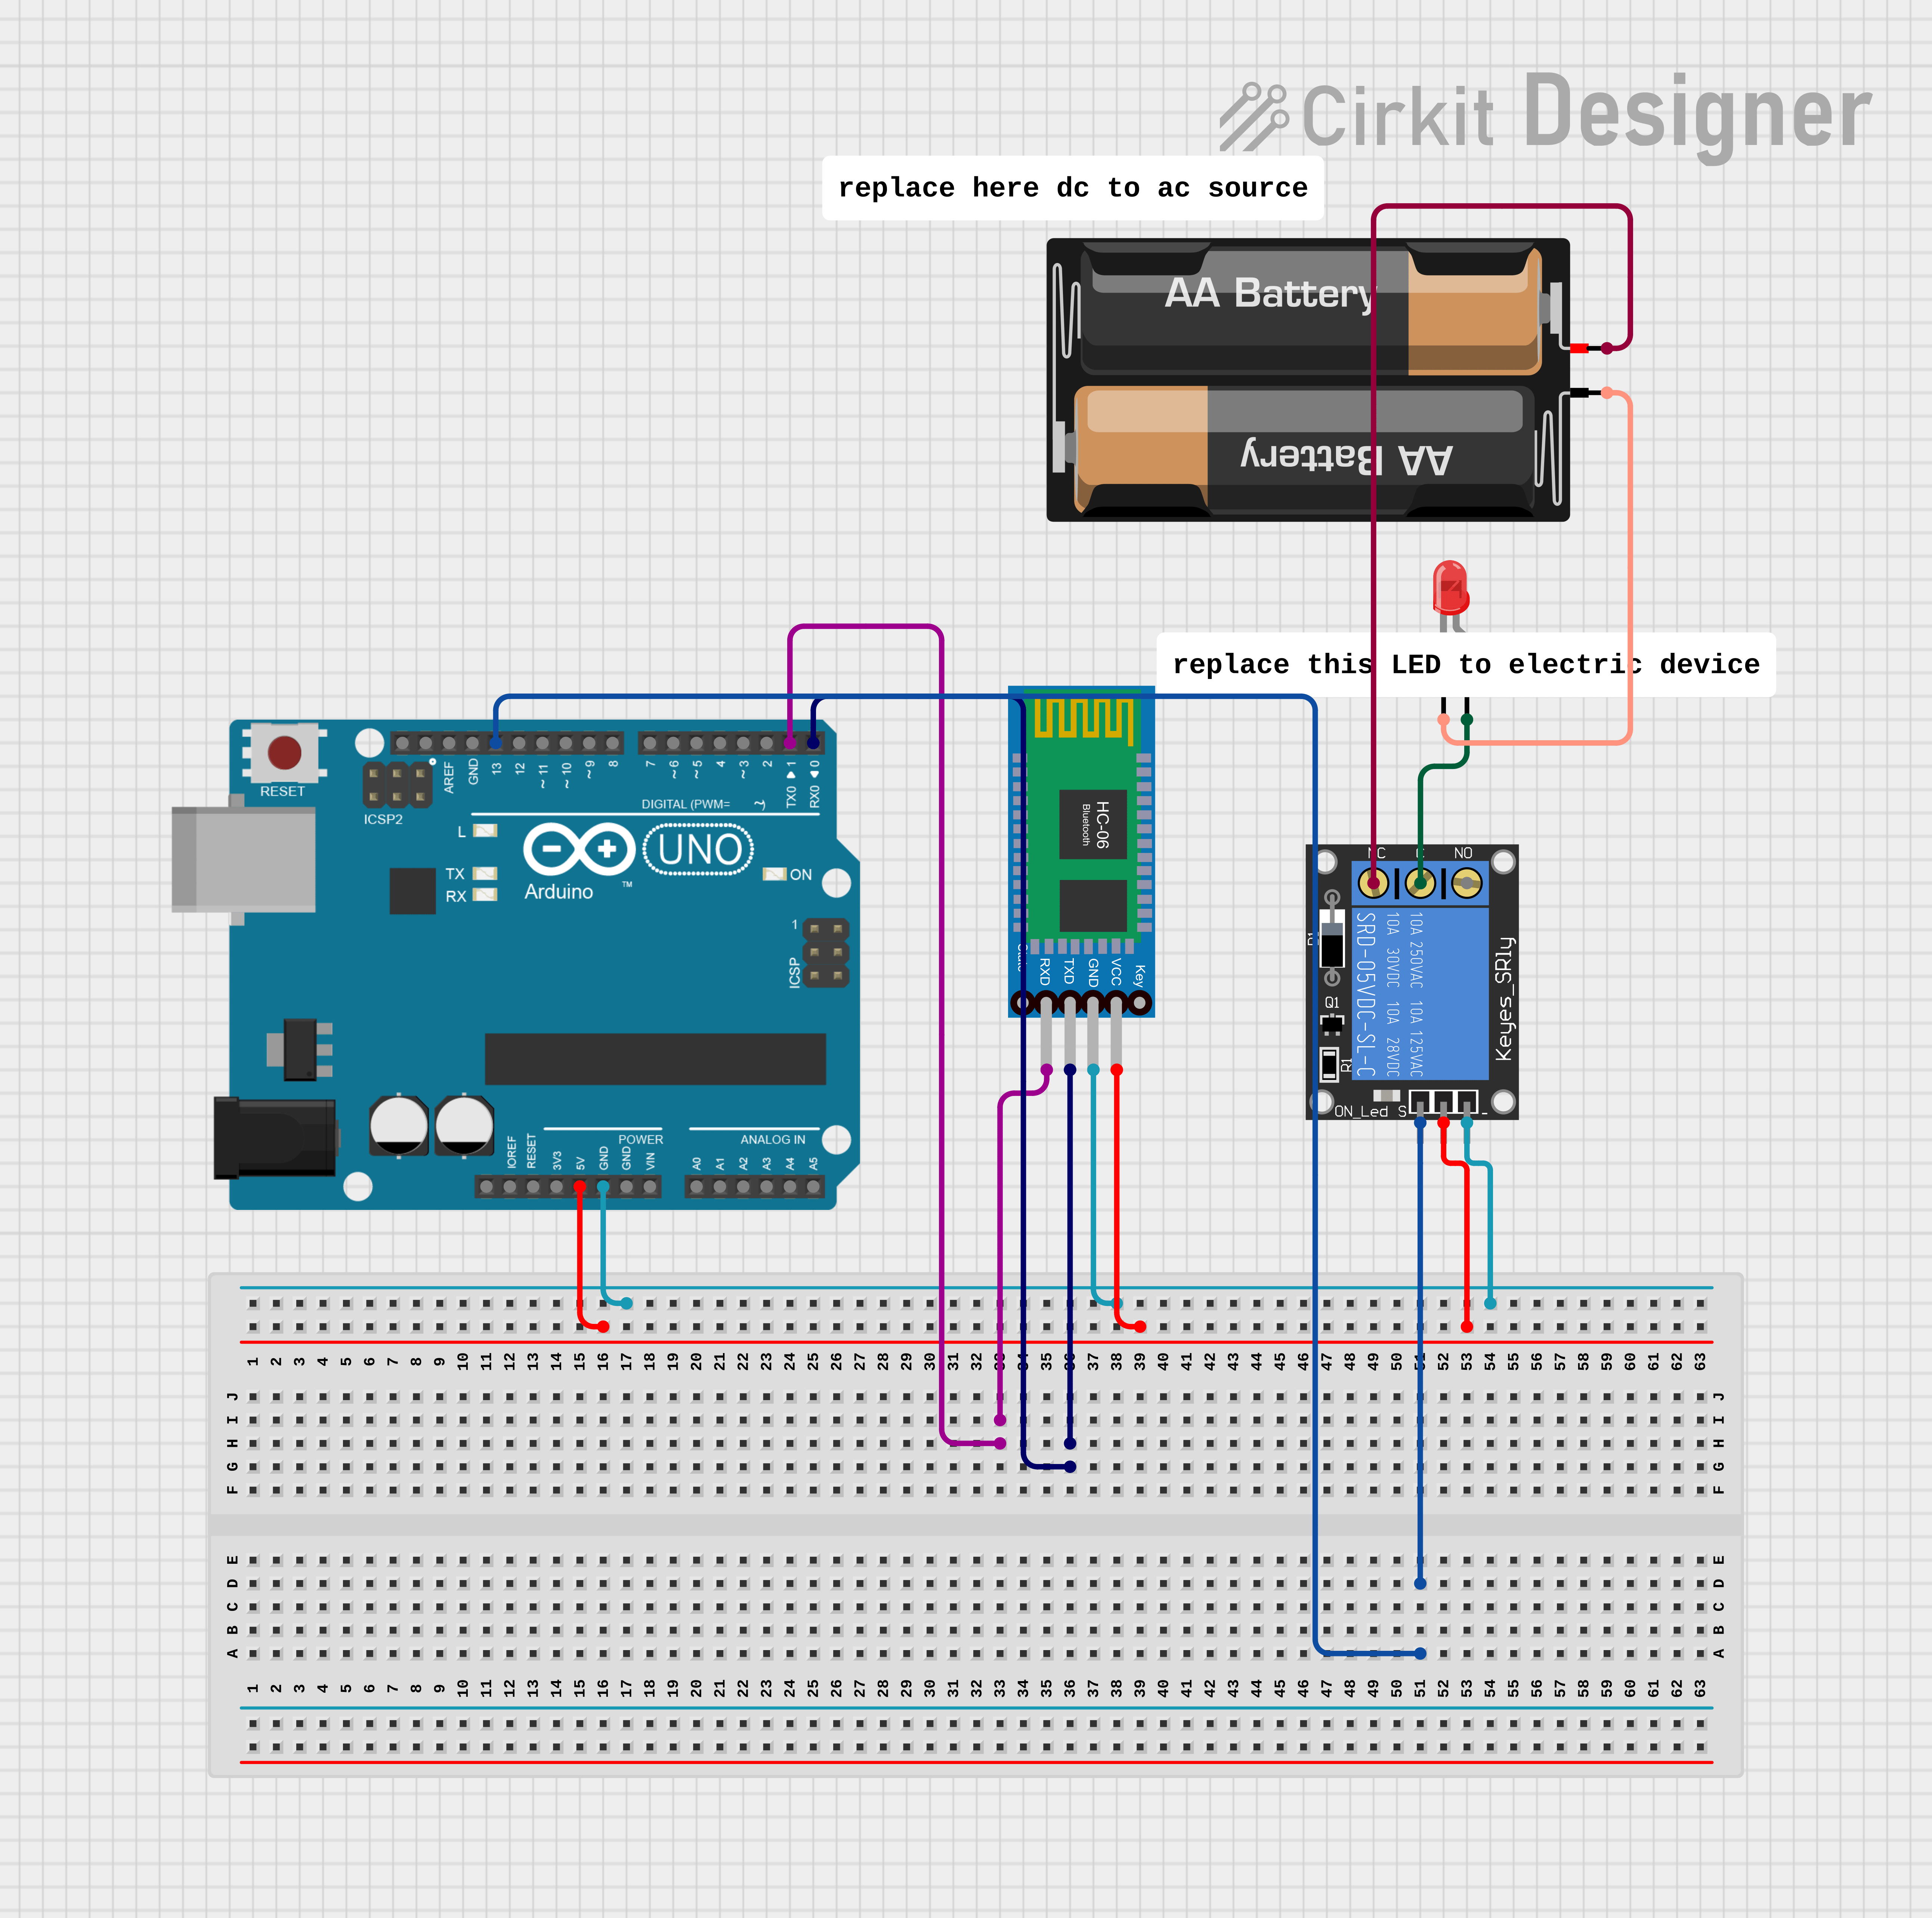
Note: Please provide input DC source to Arduino, and replace the positions of the battery and LED with electric applications suitable for an AC source.
1. Connect 5V from the Arduino to the relay and Bluetooth module’s VCC pins.
2. Connect the Arduino’s ground to the relay and Bluetooth module’s ground.
3. Connect Bluetooth RX to Arduino TX.
4. Connect Bluetooth TX to Arduino RX.
5. Connect Arduino pin 13 to the relay’s IN pin.
6. For electrical applications such as lights, televisions, and fans, connect the positive terminal to the relay’s Normally Closed (NC) pin.
7. Connect the relay’s Common (C) pin to the phase wire of the socket.
8. Finally, connect the neutral wire from the electrical application to the neutral of the socket.
3. Code for Home Automation
/*  This program lets you to control a LED on pin 13 of arduino using a bluetooth module
*/
char data = 0; //Variable for storing received data
void setup()
{
    Serial.begin(9600); //Sets the baud for serial data transmission
    pinMode(13, OUTPUT); //Sets digital pin 13 as output pin
}
void loop()
{
   if(Serial.available() > 0)  // Send data only when you receive data:
   {
      data = Serial.read();        //Read the  incoming  data and store it into variable data
      Serial.print(data);          //Print Value inside data in Serial monitor
      Serial.print("\n");          //New line
      if(data == '2')              // Checks whether value of data is equal to 1
         digitalWrite(13, HIGH);    //If value is 1 then LED turns ON
         //Serial.print("on");
      if(data == '1')         //  Checks  whether value of data is equal to 0
         digitalWrite(13, LOW);    //If value is 0 then LED turns OFF

   }
}
If errors occur, check for indentation errors. If any issues arise, please feel free to ping me in the comments for assistance.
4. Code Deployment Process
1. Begin by installing and launching the Arduino software click here.
2. Connect the Arduino Uno and identify its port.
3. Paste the provided code and click on the “Verify” button.
4. Before uploading the code, disconnect the AC power source and remove the TX and RX pins.
5. If the code verification is successful and error-free, proceed to upload the code.
6. After uploading, reconnect the TX and RX pins according to the circuit configuration.
5. Testing
1. Install the Arduino app on your Android mobile device click here.
2. After installation, establish a Bluetooth connection; the HC-05 should display with the name and password as 0000 or 1111 (modify if necessary).
3. Launch the Arduino app, grant necessary permissions, and select your Bluetooth module.
4. In the mobile app, use buttons corresponding to commands (e.g., 1 for on, 2 for off).
5. Customize your code, relays, Arduino pins, and app buttons based on your preferences using 1, 2, 3, …, n. Test and enjoy seamless home automation.
Conclusion
In conclusion, our Home Automation System, driven by Arduino and the HC-05 Bluetooth module, empowers users to effortlessly control household devices for a modern and efficient living experience.
The Arduino Uno serves as the central processing unit, orchestrating seamless wireless communication with the HC-05 module.
Relays facilitate the control of lights, fans, and other appliances, while a reliable DC power source ensures continuous automated performance.
The circuit wiring, meticulously detailed, allows for a neat and organized setup on a breadboard, using jump wires for swift connections.
The Arduino Bluetooth app enhances user convenience, offering a user-friendly interface for managing linked devices.
The provided Arduino code simplifies the programming aspect, enabling users to customize commands and preferences.
The deployment process, outlined step by step, ensures a smooth integration of the code with the hardware.
Through the testing phase, users can enjoy personalized and hassle-free home automation, marking a significant step into the future of smart living.
Related Articles
1.What Microcontroller Used MicroPython?
2. ESP32 with Micropython to control electrical devices using a relay
3. How AI and IoT Impact Daily Life


4 thoughts on “Home Automation using Arduino and hc-05 Bluetooth module”